Month: March 2021

10 Creative Ways to Dye Easter Eggs

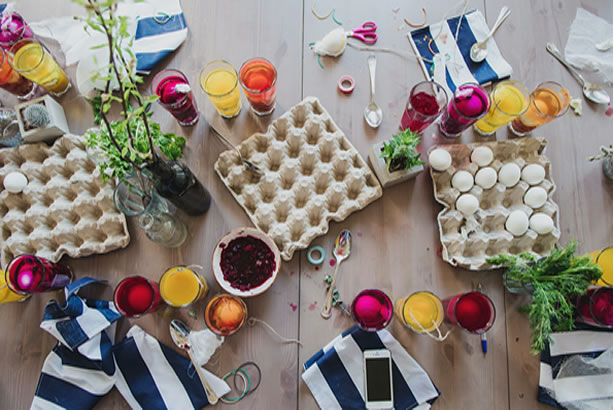
Well, we already decorated our homes for the Easter holidays and chose the Easter dinner menu. Now, let’s move to the most joyful and colorful part of the preparations for the holiday – dying the eggs!
The tips for decorating the eggs are thousands, the market offers different paints, techniques, accessories, or you can also try natural paints from herbs and vegetables. Whatever you will choose, the most important thing is to use your imagination and to follow your art call.
Here, we will present you our 10 most favorite ways to make beautiful Easter eggs:

1. Marbled Easter Eggs – To get the beautiful marbleized effect, all you will need is a whipped cream and food coloring. Get a small tray and spread a 2cm layer of whipped cream on the bottom, then add several drops of food coloring. Be generous — the more you use, the brighter your eggs will be. Then use a toothpick to swirl and marble your food coloring droplets. Pick us a hard-boiled egg and roll it in the cream, coating it completely. Leave it on a paper towel for 20minutes to dry and then wipe off the remaining cream with clean paper towel. The result is magical!
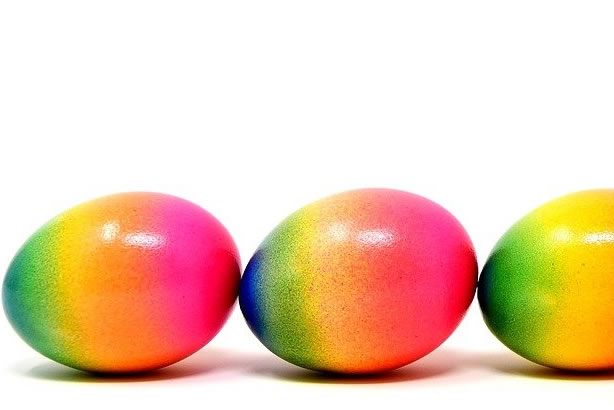
2. Ombre Easter eggs – You can create this dramatic result with one color, dividing it into several bowls with different intensity of the paint. Then, submerge a hard-boiled egg in each bowl. Steep for five minutes, or until you’re happy with the hue, then remove and place in an empty egg carton to dry.
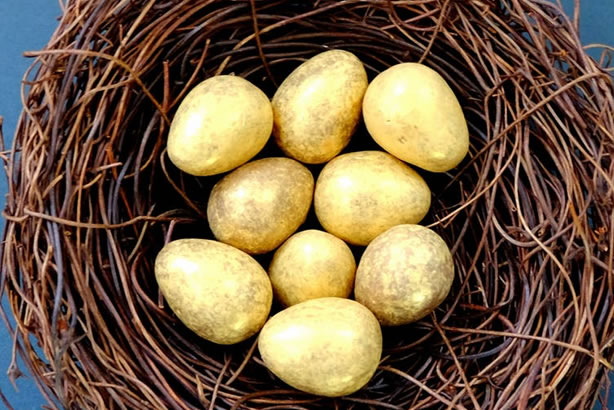
3. Gold Leaf Easter Eggs – you will need gold leaf sheets and adhesive, paint brushes, and of course hard-boiled eggs and a pencil. You can cover all your egg with the gold leaf, or just a small part in the form of bunny, heart, or whatever you wish. Just scratch it with the pencil and start creating  When you are ready with the design, use the brush to put some glue and place a sheet of gold leaf over the top. Lightly tap on it to fix it. This technique needs more time and effort, but the result is always stunning! You can also do this on wooden eggs for a decoration that will last a little longer
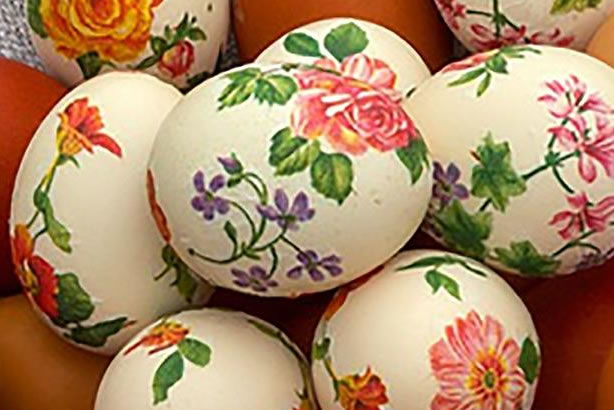
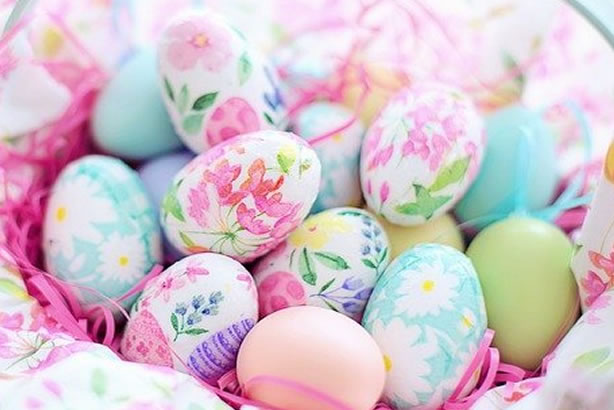
4. Decoupage Easter Eggs – this is one very simple, yet extremely stunning technique. You need s napkin or fabric, paint brush, Mod podge glue and eggs  You can use white eggs, or paint them in the color you want. Cut the part or your napkin/fabric that you want to use and put it on the egg with on a thin layer of glue. Let them dry for an hour and then you’re done. These eggs do great for home decoration – on the table or on the Easter tree.
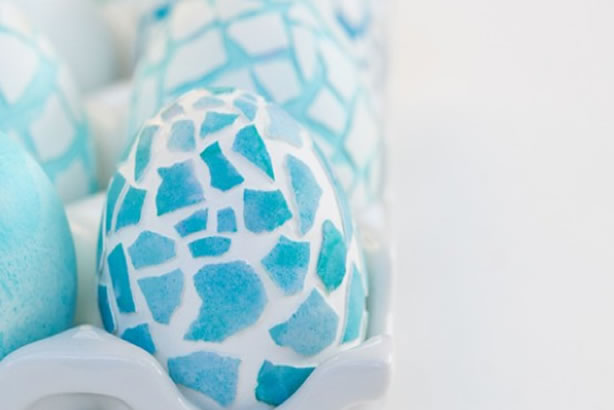
5. Mosaic Easter Eggs – paint some eggs and leave some of them white. Peel the painted and keep the shells. For this design we use small pieces of egg shells and glue it to a whole egg. We like to use different color shades on the top and white egg as a base. Here the variants are numerous, you just need a little patience and imagination 
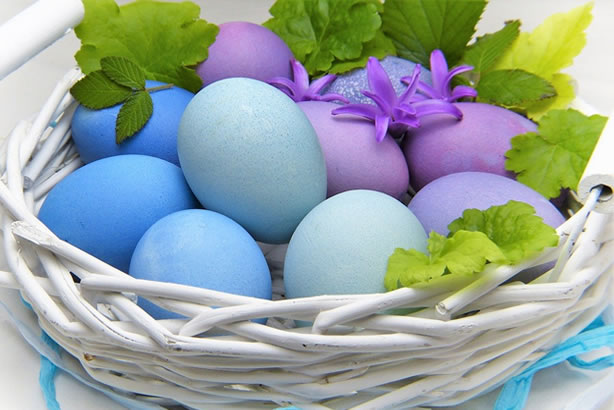
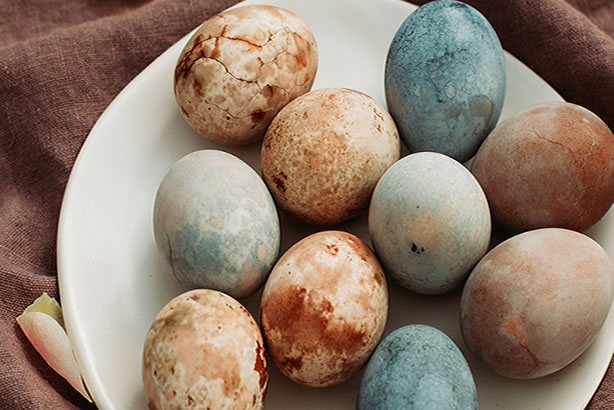
6. Natural-Dye Easter Eggs – use ingredients from your kitchen and make natural colored eggs. Here the secret is to soak the eggs for longer, if you want brighter and deeper color. Leave for at least 30 minutes, some delicate colors like orange even for overnight. Put water and vinegar in a pot, bring it to a boil and then add your dye ingredients for the egg color of your choice. Lower the heat and let simmer for 30 minutes. Let cool, strain and add the eggs for at least 30minutes. For red color, use beets, for yellow – onion skins or turmeric, for blue – purple cabbage or blueberries, for green – spinach leaves.
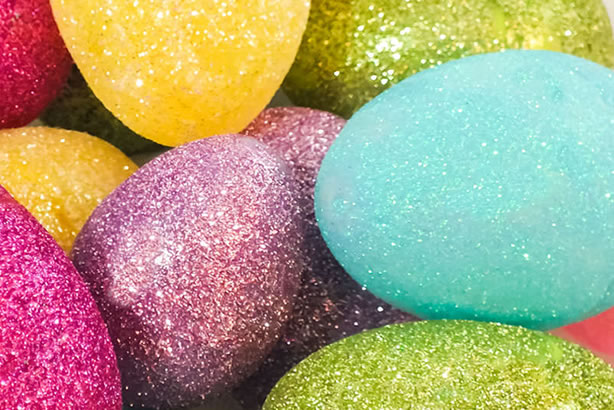
7. Crystal Easter Eggs – whatever technique you choose for coloring your eggs, marble effect or solid color, you can easily make them look cooler by covering them in small crystals. To make, paint one part of an egg with craft glue and sprinkle with clear iridescent glitter. Let dry. You can make this way the whole egg, by and repeating this on the two sides.
8. Nail Polish Easter Eggs – the secret to the perfect mélange? Swirl some nail polish in water and dip the egg in the mixture. Or take a paint brush and let your imagination do the rest! Don’t forget to use these eggs only for decoration!
9. Cotton Multi color Easter Eggs – use a cotton roll and sprinkle it all over with different colors of egg paint. Mix the colors freely to get beautiful combinations. Then put the hard-boiled egg still warm and pack it with the cotton roll. Leave for 20minuts and then unroll to see the stunning results.
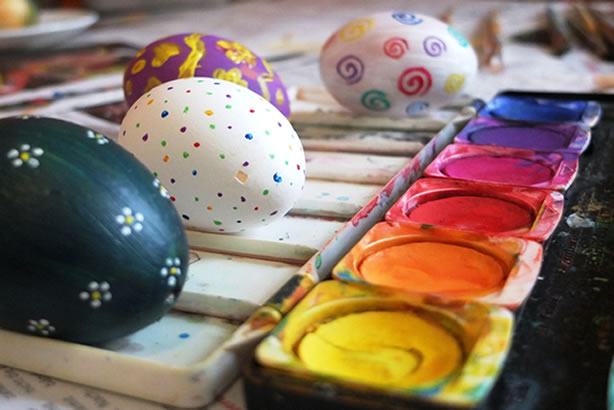
10. Watercolor Easter Eggs – this is great technique to try with your kids. All you need is a set of watercolor paints, water and a brush to paint great eggs
Did you learn something new? We will be happy to hear your favorite techniques for decorating Easter eggs!

Traditional Bulgarian Easter Dinner

Spring is already here and feeling its vibes, we become eager to celebrate the Easter holidays! Easter is approaching, and with it – the excitement about the preparations to welcome our family and friends on the traditional Easter dinner. What should Easter table include? Which recipes to bet on and how to turn the holiday into a culinary feast? The recipes are thousands, great in ingredients and origin.

This year we decided to present you some of the traditional Bulgarian Easter dishes, present in each home during this holiday! The traditional Bulgarian Easter table is rich in flavors, aromas and symbolism. Diversified over the years with recipes and decorations, it preserves the color and originality of our folk customs and traditions.

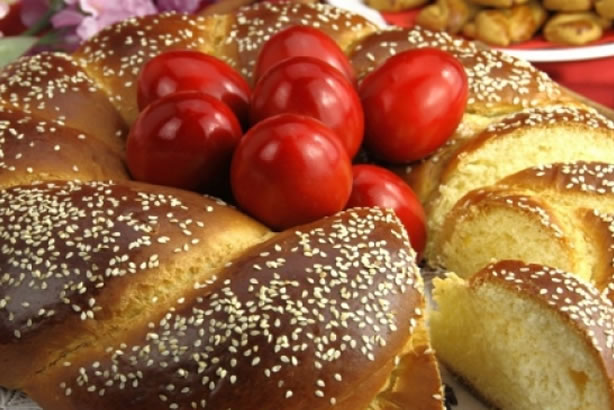
At the center of the table, of course, are Easter eggs, beautifully painted and decorated. In Bulgaria, various techniques are used for coloring the eggs – wax painting, writing, herbal paint, etc. The eggs are a symbol of the revival of nature and spirit, of the victory of life over death. Traditionally, several of the eggs are  red and one of them is placed next to the family icon of the Mother of God as the protector of the home. The Easter dinner starts with Egg fight. The hosts and guests choose one of these eggs and measure their strength by knocking them into each other. The stronger – the “fighter”, is believed to bring health and luck to the one who chose it.

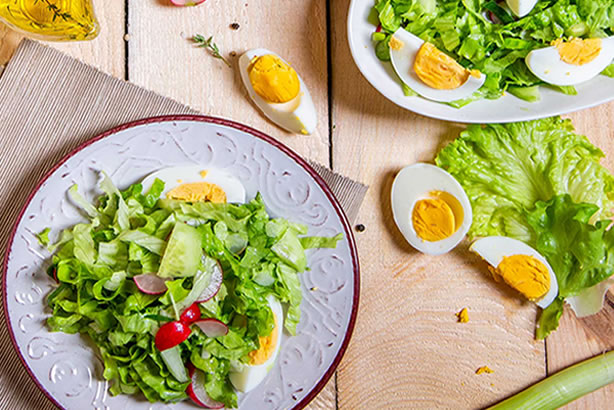
Then, we move to the salads. The spring green salad is typical for the festive Easter table. Lettuce, radishes, spinach, fresh onions, parsley are used for its preparation. The salad is most often seasoned with olive oil and lemon and decorated with chopped hard-boiled eggs. Another good option is the Classic potato salad. For its preparation you only need boiled potatoes, green onion, sunflower oil, lemon juice and salt. The right drinks make good company to these salads – most often traditional Bulgarian grape or plum brandy, called “rakiya”.

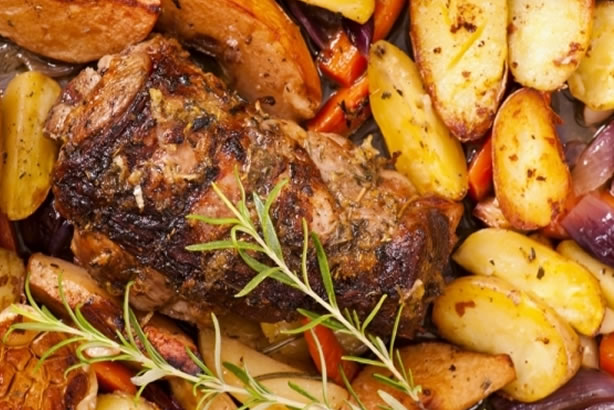
The traditional main dish on Easter is lamb. The lamb is a kind of sacrifice, a sacrifice in honor of the holiday. It can be prepared in different ways: baked in the oven with herbs and garlic, or garnished with spinach, potatoes, carrots and other vegetables, or roasted with spices and stuffed with onions, tomatoes and parsley. Another very common lamb dish is the “drob-sarma” – it is baked in the oven and is made of rice and trifles. In some parts of Bulgaria people make soup from lamb trifles. Everything is seasoned with salt, black and red pepper, beautifully decorated and served with love and wishes for health and prosperity.

Traditionally, the sweet Easter bread, called “kozunak” is present on each Bulgarian Easter table. It is inherited from the Easter ritual breads that our mothers and grandmothers made, and some still make at home today. Kozunak, a mixture from flour, milk, sugar and eggs, has different modifications depending on preferences and capabilities – you can add raisins, almonds, Turkish delight or chocolate.

We will be more than happy, if you try some of our traditional dishes and share photos from your holiday!


Spring cleaning hacks

Spring cleaning feels great … once it’s finished 
But getting there takes time and efforts and isn’t always so much fun. To make this whole happening less boring, we have put up some tips and tricks to ease the process and leave you with more time to enjoy your fresh and tidy home.

1. REMOVE THE UNPLEASANT SMELL FROM YOUR FRIDGE
If you’re planning to start from the kitchen, clean the fridge first. Clean every part of your fridge with sponge, dipped into mixture of baking soda and hot water. In the fridge, different food smells mix and this could impact on the ingredients’ taste and smell. It’s also subject to spills and overcrowding, and it’s the one appliance that never gets a rest. You should always wipe up all spills immediately, before they get dry. Also, regularly check your fridge for spoiled food. Always keep a small cup of baking soda in your fridge. It will absorb the smells and the feeling after the deep cleaning will stay longer.
*If you need to defrost your freezer quickly, simply put a bowl with hot water in it and you will be ready in a minute! But first, unplug the fridge or freezer unit and remove all frozen foods. Then put some paper towels on the bottom to absorb the melting ice.

2. CLEAN YOUR GARBAGE DISPOSAL
Cleaning the garbage disposal is important and should be done once at a time. Simply drop in cut lemons, some salt and a few ice cubes and any unwanted odors or built-up residue will be eliminated.

3. CLEANING STAINLESS STEEL FAUCETS
The stainless steel faucets will shine again with some lemons. Just cut the lemon in half and start rubbing to remove hard water stains and rust from any stainless steel in the bathroom or kitchen. As bonus, you will get a fresh, pleasant citrusy scent.

4. CLEANING THE DISHWASHER
To work best, dishwashers need to be cleaned regularly. All you will need is white vinegar and baking soda. First, remove any foreign material you can find from the drain. Then, place a bowl full of white vinegar on the top rack and run a complete wash cycle on the hottest setting. Then sprinkle a handful of baking soda across the bottom of your dishwasher and run for a short hot water cycle. Follow the above steps and you will avoid any drainage problems with your dishwasher, and you will get sparkling clean dishes,

5. CLEANING THE WINDOWS
Choose a dry, cloudy day. Sunshine will cause your windows to dry too quickly, leaving streaks. Before you get started, sweep dirt from the window frame with a brush or vacuum cleaner to prevent dirt from turning into a muddy mess when mixed with a cleaner. Then spray generously the chosen cleaner and wipe with a cloth until all dirt is dissolved. For best results, use a microfiber cloth.

6. CLEANING THE CARPETS AND SOFA
If you try to avoid expensive, chemical based cleaners from the market, we have the right offer for you! Freshen up your carpets and sofa, using essential oil and baking soda. Just spray several drops of essential oil, then scatter baking soda and leave for 5 minutes. Then use the vacuum cleaner to clean everything away and you are ready! The same thing does great results with your mattresses!

And what are your favorite cleaning hacks?

X